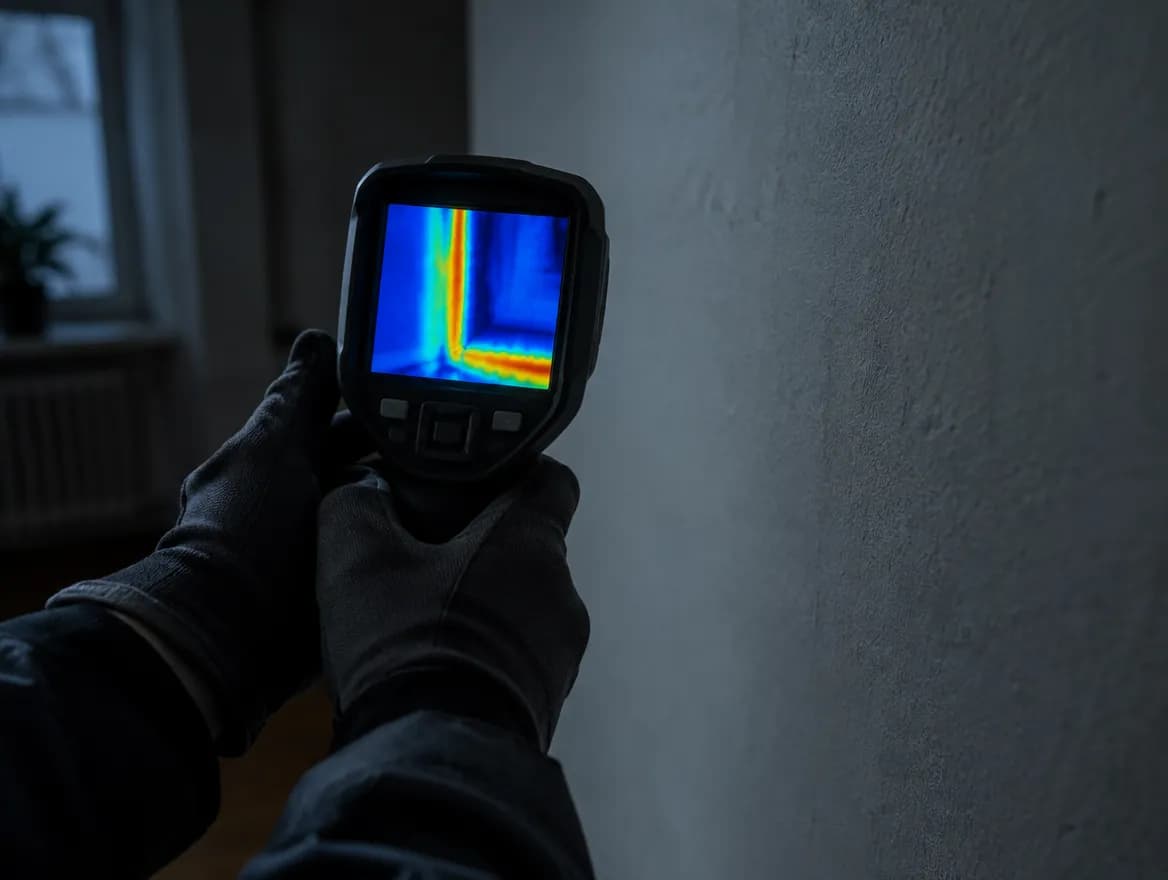
Thermal imaging cameras have become a familiar part of leak detection. They produce striking colour images, and it is easy to assume they can see water inside walls. In practice, a thermal camera measures infrared radiation from surfaces and displays it as apparent temperature. It does not see through walls and it does not detect water directly. Understanding that difference is the key to using thermal imaging well.
Gold Coast conditions, with strong sun, air conditioning and humid air, make the limits of thermal imaging especially relevant here.
What a thermal camera actually measures
Every surface emits infrared energy. A thermal camera captures that energy and converts it into an image where different colours represent different apparent surface temperatures. Water affects surface temperature in a few ways. Wet materials often cool as moisture evaporates, and a leaking hot water pipe can warm the surrounding wall or floor. These temperature differences can create patterns on the surface that are consistent with moisture or a pipe run behind it.
The word consistent matters. A cool patch on a wall may be caused by moisture, but it may also be caused by a gap in insulation, an air leak, a shaded area or a different building material behind the plasterboard.
Where thermal imaging can help
Used in the right conditions, thermal imaging is a useful screening tool. It can cover a large area quickly and without contact, which helps direct attention to the areas most worth testing further.
- Tracing the likely route of hot water pipes in walls or slabs, which can help narrow down where a hot water leak may be.
- Showing the extent of temperature patterns that may be consistent with wet building materials.
- Highlighting areas worth checking with a moisture meter or other methods.
- Recording the condition of a surface at a point in time, which can support a written report.
Limits and common sources of false readings
Thermal images are sensitive to their surroundings. On the Gold Coast, strong sun on an external wall, air conditioning, recent cooking or bathing, and reflective surfaces such as glossy tiles or glass can all affect what the camera shows. Some conditions make thermal imaging much less useful.
- Cold water leaks where there is little temperature difference between the water and the surrounding materials.
- Thick slabs, stone or heavily insulated walls that mask surface temperature changes.
- Reflective or shiny finishes that reflect heat from other objects rather than showing their own temperature.
- Rapidly changing conditions, such as sunlight moving across a wall during the inspection.
- Areas where the leak is deep below the surface or well away from where the water appears.
Because of these limits, a thermal image on its own is generally not enough to confirm a leak location. It is one piece of evidence that needs to be read alongside the history of the problem, meter and pressure testing, and direct moisture readings.
How thermal results are checked and reported
A careful technician will treat a thermal pattern as a lead, not a conclusion. Where appropriate, they may confirm it with contact moisture readings at several points, compare it with a dry reference area, or repeat the image after running hot or cold water through the suspected line. Acoustic or tracer gas methods may also be used, depending on site conditions.
In a written report, thermal images are most useful when they are clearly labelled with the location, the date and time, and what the technician observed. The report should explain what the pattern is consistent with and what other testing was carried out, rather than presenting the image as proof on its own. If the evidence was not able to confirm a source, the report should say so.
- Capture thermal images in stable conditions where possible.
- Note environmental factors such as sun, air conditioning and recent water use.
- Confirm suspected areas with direct moisture readings or other testing.
- Report the observation, the supporting evidence and any limitations.
Need help on the Gold Coast?
Tensor Plumbing is a licensed plumber and gas fitter based in Parkwood, servicing Gold Coast suburbs within about 30 minutes. See thermal imaging leak detection on the Gold Coast and plumbing reports for insurance claims, or find your suburb. When you're ready, request a quote online and attach a photo or two.
Related reading: How a Plumber Finds a Hidden Water Leak, Step by Step and Water Meter Moving With Taps Off? How to Find the Leak.
General information only
This article is general information about thermal imaging in leak detection. It is not a substitute for a site-specific inspection by a licensed plumber, and what can be found or confirmed on any property depends on site conditions and accessible evidence.